A couple of weeks ago, I saw this doodle on fb and literally {lol}ed. I decided that I had to have it in my kitchen as a canvas print, but I was not going to pay out the bum to get it done. I bought a 3 pack of flat 8 x 10 canvases at Walmart for under $5.00 and tried my hand at a little DIY. I first tried to iron-on transfer the image to the canvas, but that failed miserably! So, I did a search on Pinterest and found a great blog by Girl. Inspired.

All I needed was a few simple tools:
1. Paper Cutter (optional), scissors will work too
2. Photo Paper - I used a lower grade since I wasn't too worried about quality.
3. 8 x 10 Flat Canvas
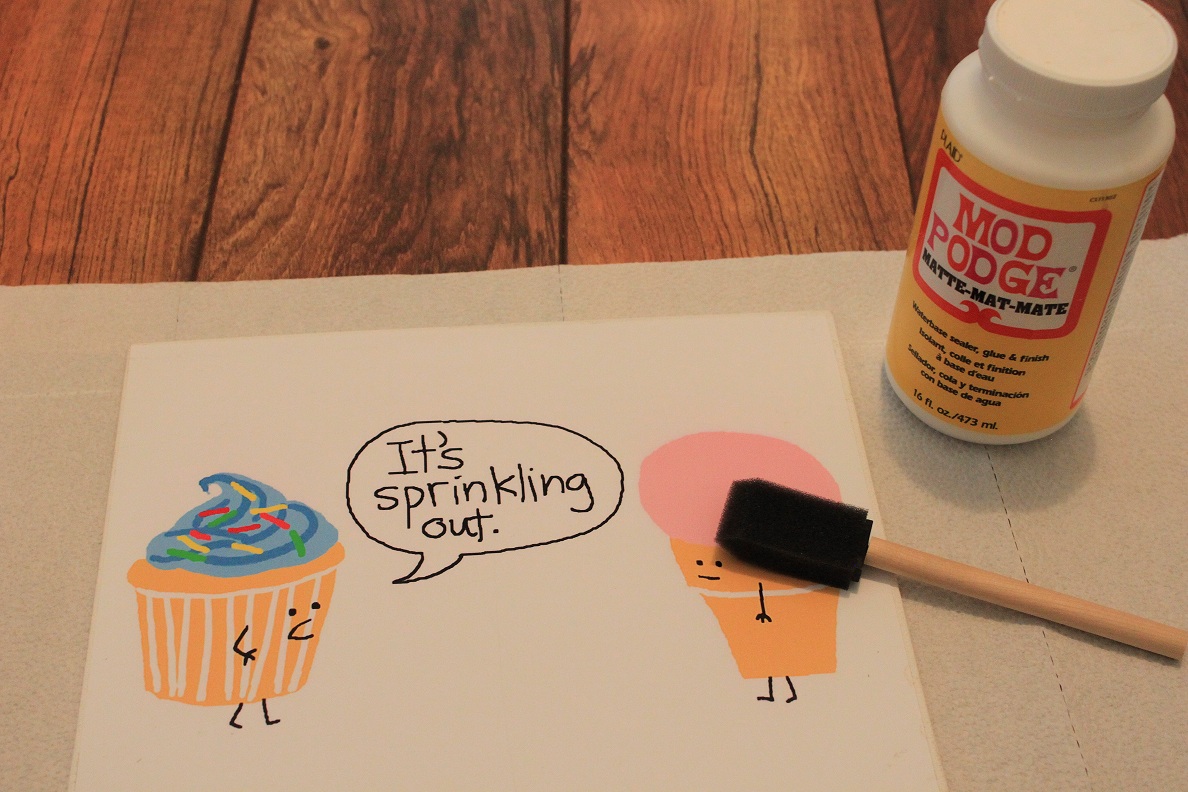
4. Mod Podge - Matte Finish
5. Glue Stick
6. Paint
7. Brushes

I found this adorable image here and printed it on photo paper using my ink jet printer.

Because the photo paper is a little bigger than my canvas, I cut a little over 1 inch off the side.....

and 1/2 inch off the bottom.

I then placed my cut picture on top of my canvas to make sure it fit.

Then I spread glue all over the back and pressed it down firmly to the canvas, making sure to pay extra attention to the corners.

Now it was time for the Mod Podge! I layered it on quite thick, using artistic brush strokes to create a textured look.
It did appear milky white at first, but I promise it dried clear.

See...I told ya :) {30 min. later}

I then took a spongy foam brush and dabbed a little grey paint around the sides and corners to hide the edges of the photo paper, and to give it a little more texture.

The result....

The grey was just a little dark for my taste so I did go back over it with just a little bit of white.
I hope this inspires you to create your own canvas print because it is extremely easy and took only about 45 minutes including dry time!
Since it did work out so well, I'm going to try a bigger one with one of our wedding photos. Stay tuned to my blog to see how it turns out.
No comments:
Post a Comment